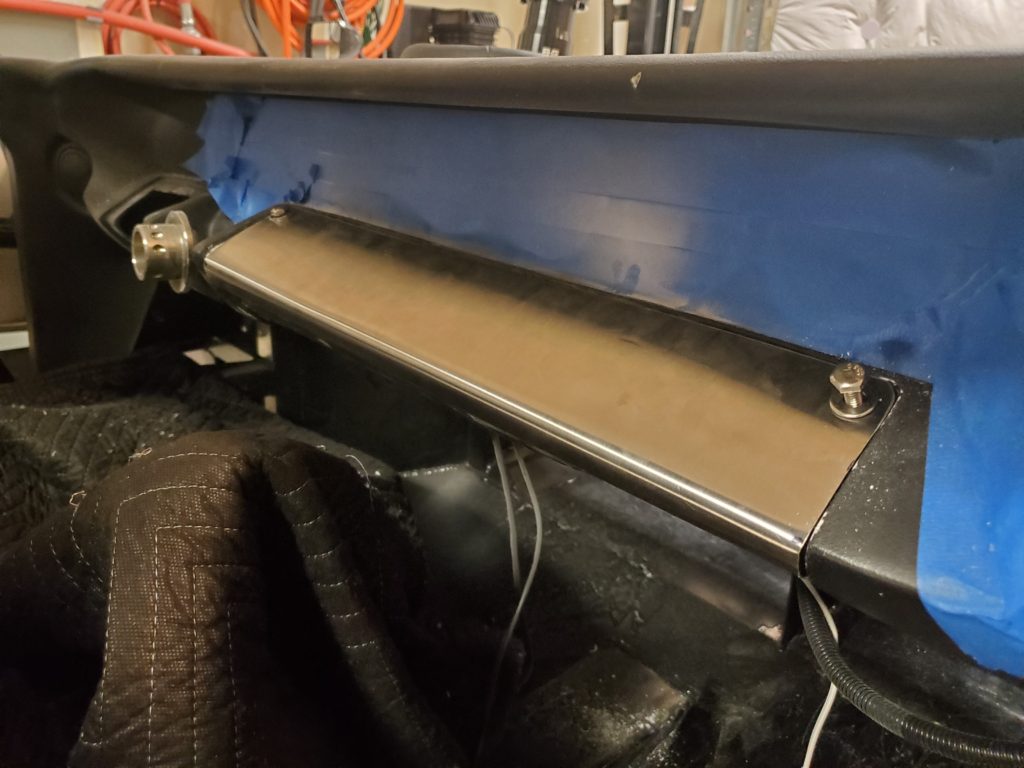
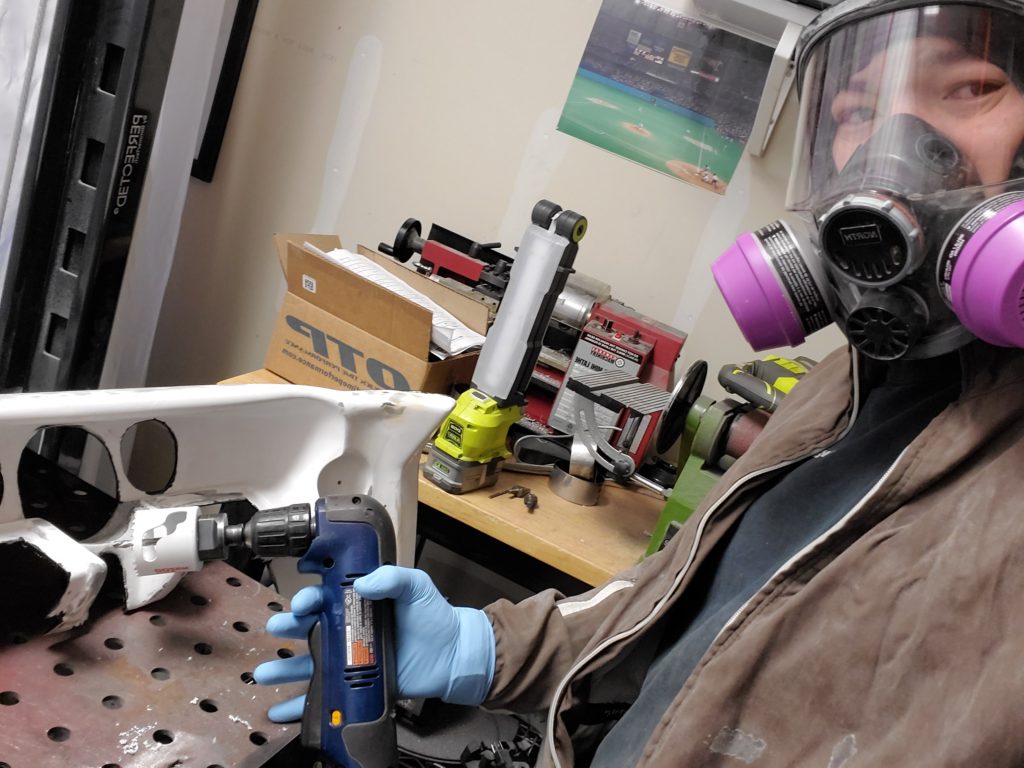
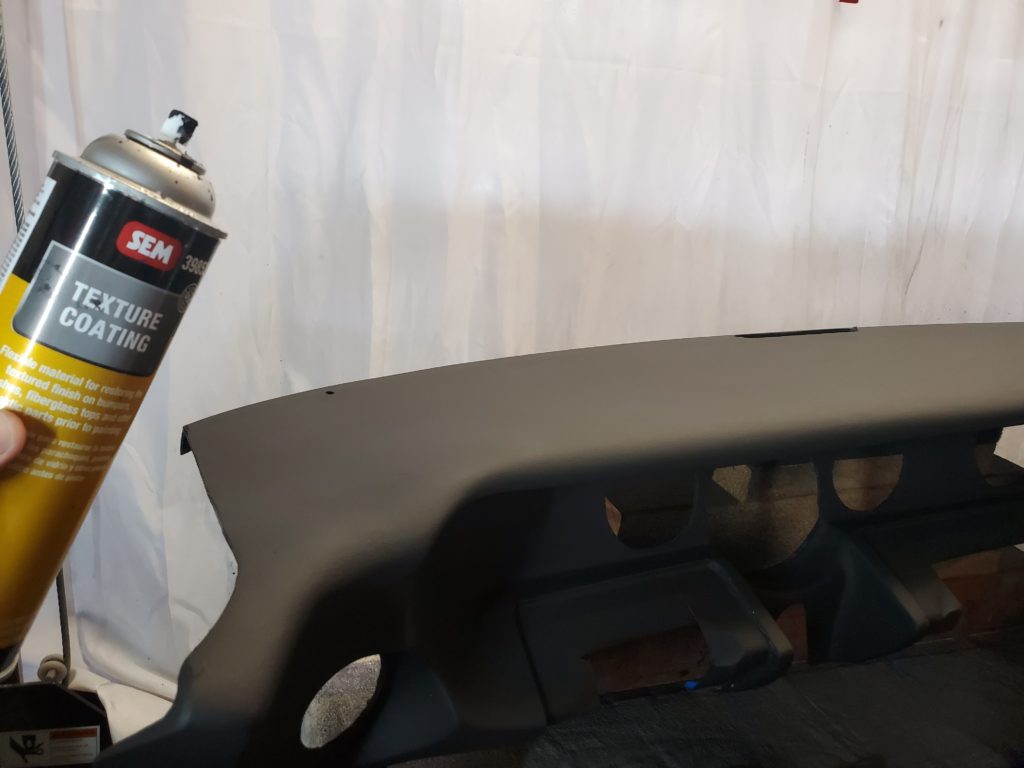
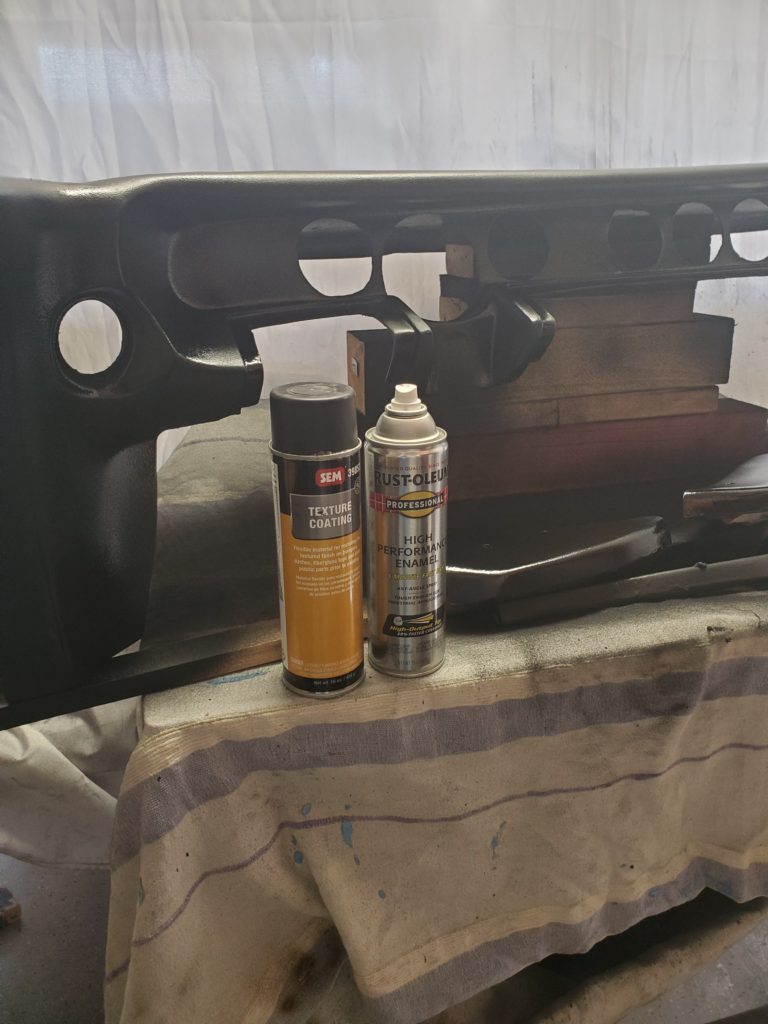
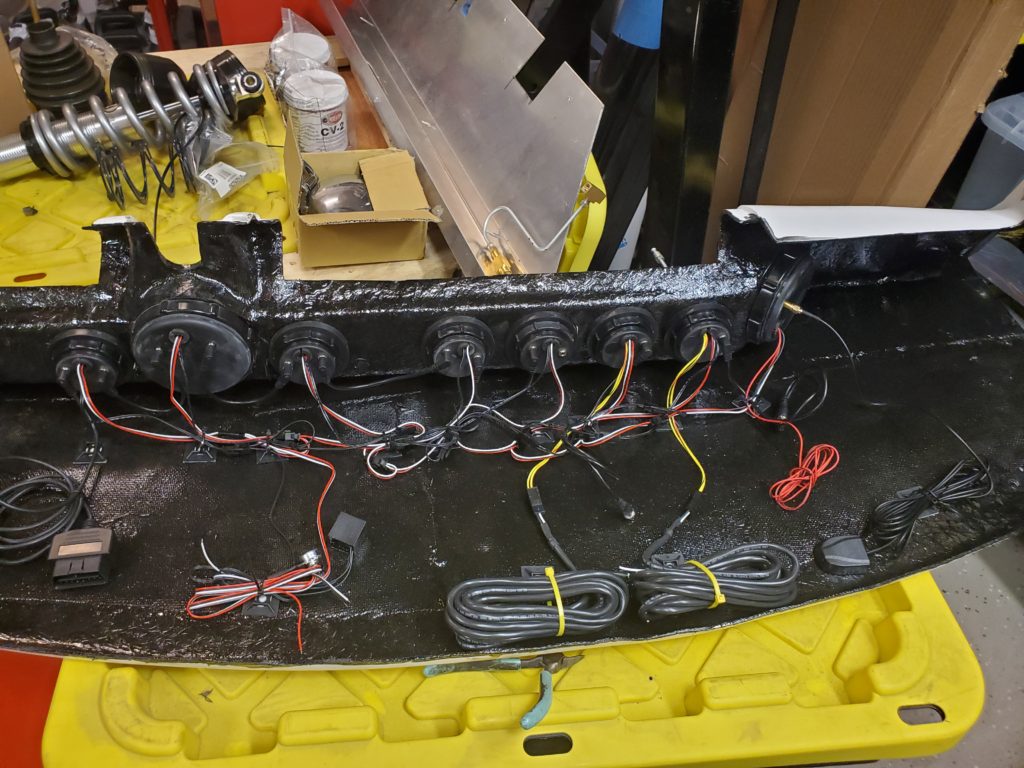
After cutting all of the holes for the gauges & air vents, I sanded/bondo’d/re-sanded to get the dash smooth, then used SEM’s spray on “Texture coating” (which is designed to mimic an OEM style lower bumper cover), then a top coat of matte Black paint (I used matte to reduce glare). I wasn’t too concerned about this being perfect, and while there’s a few blemishes, it came out really nice. The texture helped to hide 99% of the inspections, and looks OEM. The paint helps to harden the surface, to hopefully stand up to wear/tear.
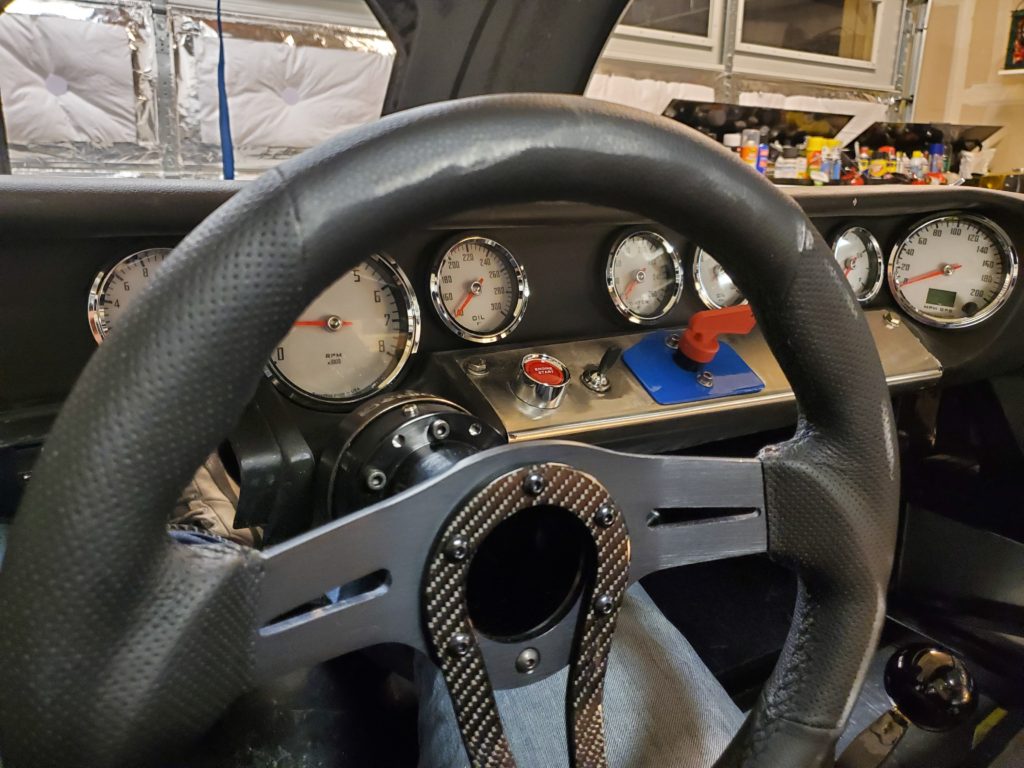
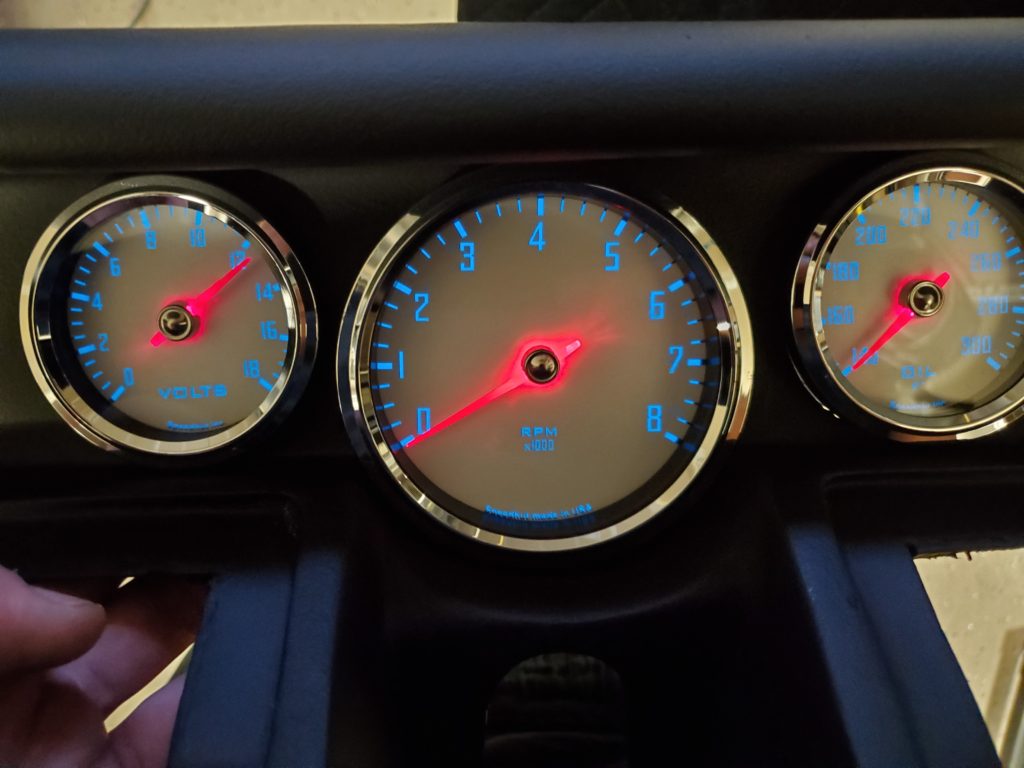
Gauges: we bought Speedhut gauges that have a classic look, but have a neat OBDII input that provides all of the data…you connect the OBDII port, power, ground, and that’s it! The speedometer is fed by a GPS sensor, and then the fuel levels require wiring to the tank senders (if I was using GM OEM fuel tanks/senders, this could also be provided over the OBDII link.) I added a OBDII Y connector, so that I could leave the gauges plugged in, and still have an available port for my laptop when tuning.
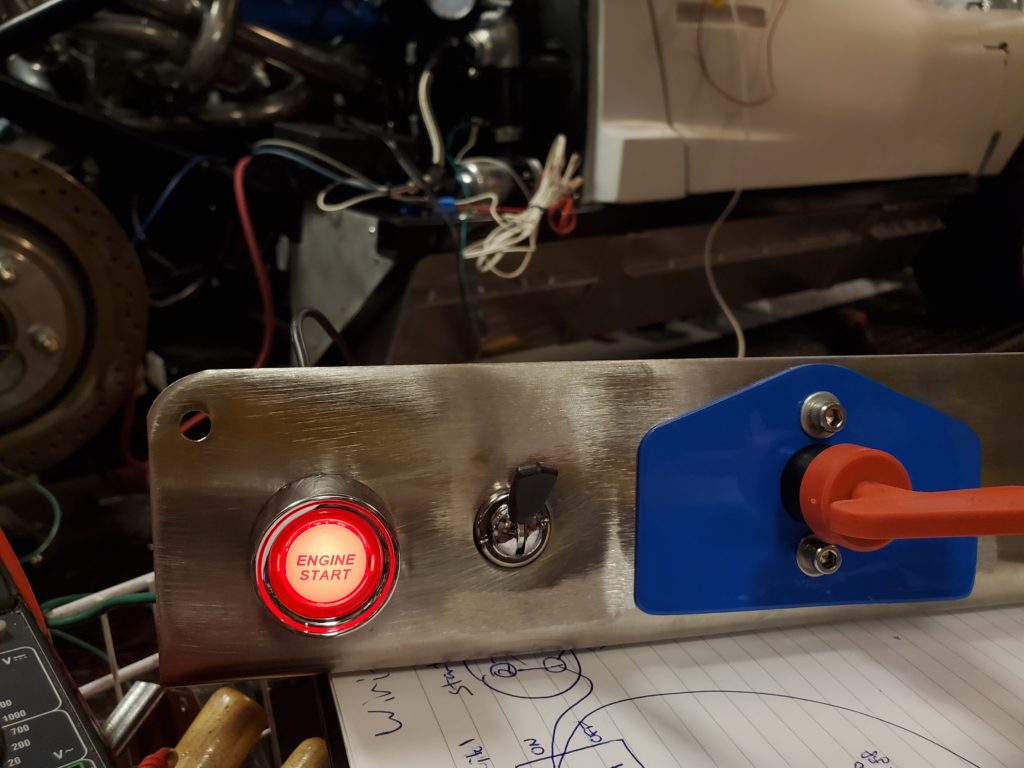
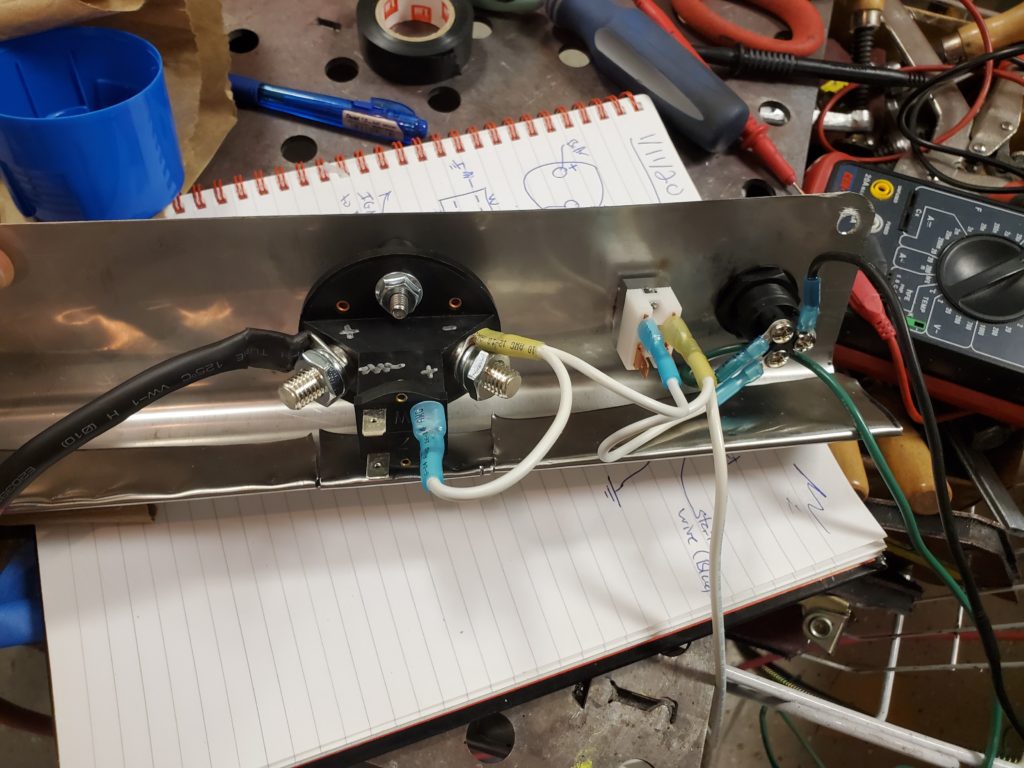
Ignition Panel: I had been delaying the dash panels, as I assumed this would be more involved…but after my 1st drive, it was such pain to have all of the wiring done w/ temporary stuff (wire nuts, touching the starter solenoid wire to the batter to start,…), that I made a quick panel to mount everything, which gets all of the wiring 100% complete, but the fit/finish of the dash panel is ~80%; I’ll redo this later. This includes the Emergency power disconnect (which will both be a safety function & my “key”), ignition switch, and start button. I’ve got a lot more still to do…but that stuff can wait (turn signals, lights,…brake balance adjuster,…)
